
This past weekend my oldest and his band had a performance. It was organized by a local singer/songwriter and they were the second of four bands performing at the show. Their band went on at twilight, that magical time just after the sun sets but the sky is still partially illuminated. It was the ... Read More about A Rockin’ Weekend
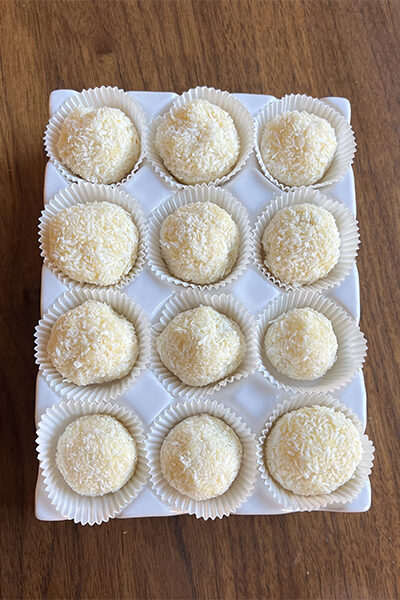
Gluten Free Raffaello Truffles
When I first started dating David, he introduced me to the most delectable little coconut confections I had ever encountered. They were called Raffaellos and, at the time, they were nearly impossible to come by in the United States. They were one of the treats (along with Boci Chocolate and Túró ... Read More about Gluten Free Raffaello Truffles

Happy New Year and 2021 Year in Review
Hello, hello and Happy New Year! Boldog Új Évet Kívánok! Can you believe we are in 2022? I sent my kids off to school this morning and I’m back at work for the first time in the new year. I still can’t believe the holidays have already come and gone. I hope that you all had a wonderful holiday ... Read More about Happy New Year and 2021 Year in Review

It’s Raining, It’s Pouring
My morning was a bit of a mess. It has been raining since last night. Since it so rarely rains here, when it does, it can throw us for a loop. In Southern California, we don’t get sweet little rain showers, the skies open and pour down buckets of rain. There is even an Albert Hammond song (also ... Read More about It’s Raining, It’s Pouring
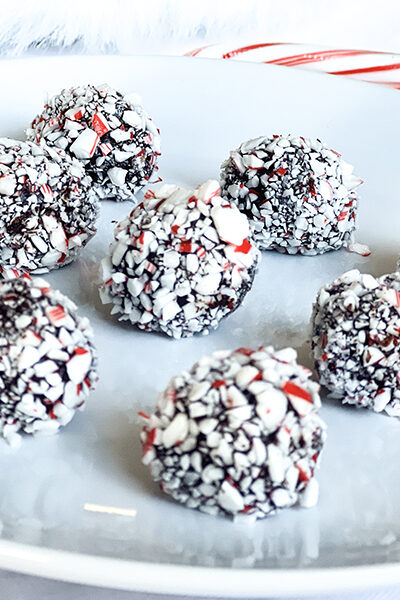
My Guilt-Free Candy Cane Truffles
To me, it just wouldn’t be the holidays without a little holiday baking. And when I say a little, I mean a whole lot. My list of yearly “must have” holiday treats grows a little bit longer every year. Of course, every member of the family has a different favorite treat, so just making sure they all ... Read More about My Guilt-Free Candy Cane Truffles